
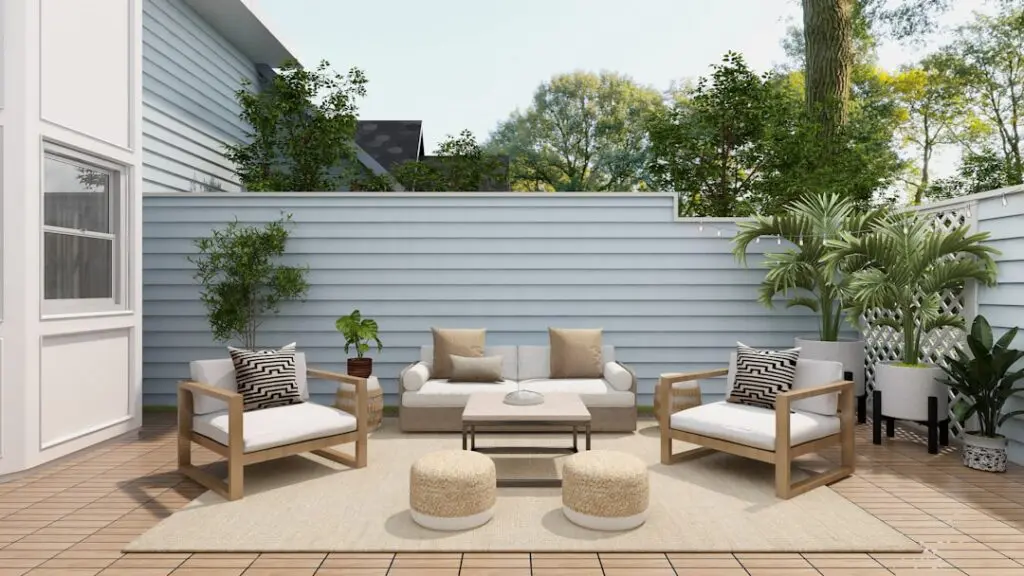
Match your patio size to its primary use and the number of people who will use it regularly. Small patios run 50–100 sq ft (a bistro table and two chairs), medium patios cover 100–300 sq ft (dining plus a lounge zone), and large patios stretch 300–400+ sq ft for outdoor kitchens, fire pits, and multi-zone gathering spaces. The rule to apply on-site is to identify your main activity, count your typical occupancy, convert that to square footage using the per-person and furniture rules below, then add a circulation buffer before you mark a single corner.
Quick sizing anchor: Plan roughly 10–12 sq ft per dining person including circulation. A table for four needs about 100 sq ft once chair pull-out and walking paths are included.
Key Takeaways
Sizing a patio correctly requires converting your primary use and occupancy into square footage, applying clearance rules, and testing the footprint on site before any material is ordered.
| Point | Details |
|---|---|
| Start with use, not size | Identify your primary activity first, then calculate area: 10–12 sq ft per dining person, 80–120 sq ft for a lounge set. |
| Apply the 3-2-1 clearance rule | Keep a 3-ft clear path, 2 ft between major furniture pieces, and a surface within 18 in of every seat. |
| Test on site before building | Mark corners with stakes and rope, place furniture stand-ins, and live with the footprint for several days. |
| Match scale to your property | Keep the patio at or under 20% of your home’s square footage and 10–20% of your backyard area for visual balance. |
| Fernandez & Sons | Provides free on-site estimates covering drainage, grade, materials, and permits for patios across Morris and Somerset Counties, NJ. |
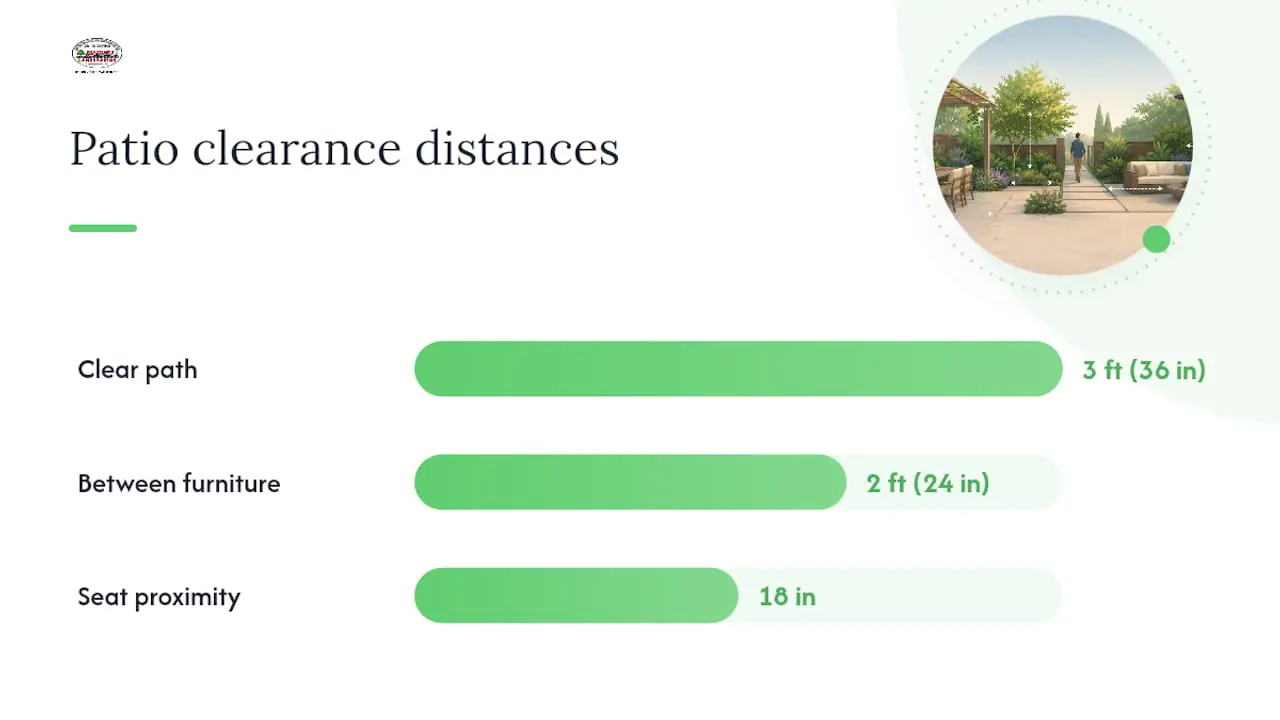
Table of Contents
-
What clearances and furniture footprints do you actually need?
-
How should your patio’s scale relate to your house and yard?
-
When should you hire a contractor instead of doing it yourself?
-
Fernandez & Sons brings your patio plan to life in Morris and Somerset Counties
How do you decide the exact patio size you need?
Work through these five steps before you commit to any dimensions.
-
List your primary and secondary uses. Dining, lounging, grilling, fire pit, children’s play, or a combination. Rank them by frequency, not aspiration.
-
Set a realistic guest count. Think about your typical Saturday evening, not your largest holiday party. Design for the number you host most often.
-
Convert occupancy to area. Use these per-activity benchmarks:
-
Dining: 10–12 sq ft per person (includes chair pull-out and server path)
-
Lounge seating: a 3-piece set needs roughly 80–120 sq ft with circulation
-
Grill bay: allow a dedicated 4×6 ft zone (24 sq ft) plus 3 ft of clearance on all open sides
-
Fire pit seating area: plan 12–15 sq ft per seat around the pit, plus a 3-ft safety buffer from the pit edge to any chair
-
Children’s play zone: 50–100 sq ft depending on equipment
-
-
Decide: single-use or multi-zone. A single-use patio can be sized tightly. A multi-zone patio needs each zone’s area added together, plus a 3-ft circulation spine between zones.
-
Add a buffer and round up. Add at least 10% to your calculated total for trim, borders, and built-ins that eat into usable space.
According to LiveOuter’s layout guide, patios under roughly 120 sq ft should stick to one function. Trying to fit dining and lounging into that footprint leaves both zones feeling cramped. Above 220 sq ft, the opposite problem appears: furniture scatters and the space loses cohesion. Grouping furniture deliberately solves it.
Common patio dimensions and what they actually fit
The table below covers the most frequently built sizes, from a simple bistro corner to a full outdoor living room.
A few notes on reading this chart:
-
Minimum vs. comfortable: A 10×10 ft patio fits a 4-person table, but chairs will be close to the edge. A 12×12 ft gives you the same table with proper pull-out clearance.
-
Irregular shapes: If your yard is L-shaped or has a bump-out, calculate each rectangle separately and add the totals. Always round up to the nearest foot to account for edging material.
-
Built-ins reduce usable area. A built-in bench or planter box along one edge can consume 18–24 inches of depth. Factor that in before finalizing dimensions.
What clearances and furniture footprints do you actually need?
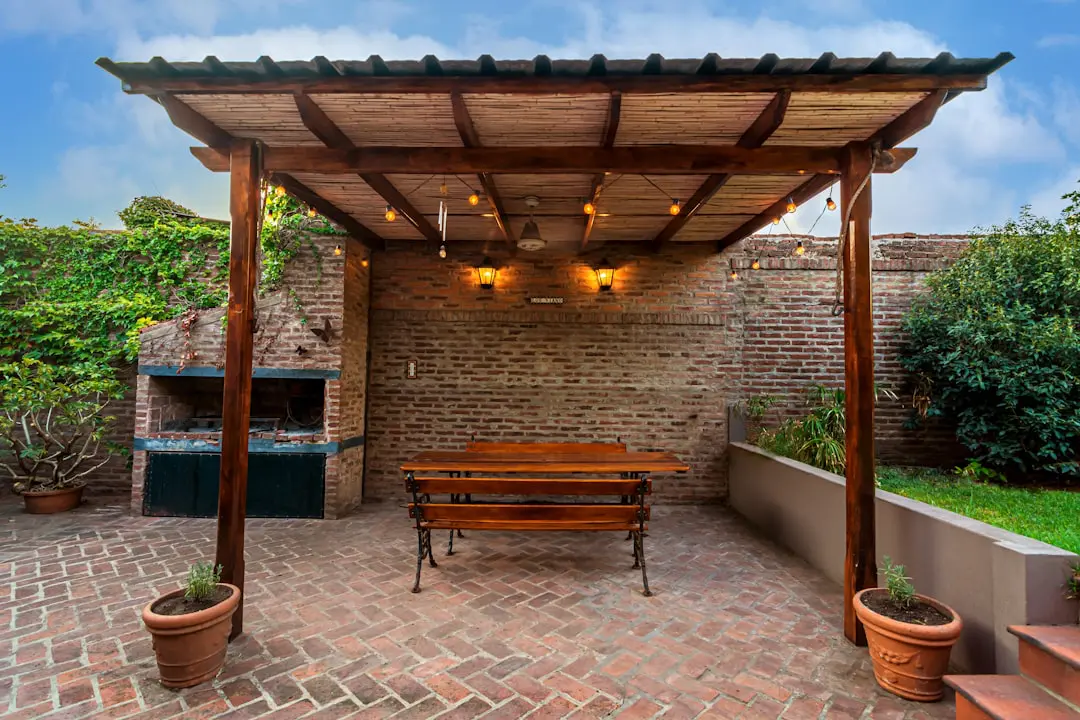
Getting the square footage right is only half the job. Layouts fail when clearances are ignored.
Circulation widths:
-
Main walkways (the primary path from door to yard): 30–36 inches minimum; use 36 inches when guests include older adults or strollers
-
Secondary paths between zones: 24–30 inches
-
Behind dining chairs (pull-out clearance): 24–30 inches from chair back to the nearest wall or furniture
Furniture footprints:
-
A 42-inch round dining table requires roughly an 8-foot diameter once chairs are pulled out
-
A 3-piece lounge set (sofa + two chairs) needs 8×10 to 10×12 ft with circulation included
-
A sectional sofa can run 10–12 ft along its longest side; leave 18 inches between the sofa and a coffee table for comfortable reach
Fire pit and grill safety:
-
Keep a minimum 36-inch clearance from a fire pit or grill to any chair, table, or combustible surface
-
Near walls, fences, or overhead structures, extend that buffer to 48–72 inches
-
Never position a grill where the primary circulation path crosses the cooking zone
The 3-2-1 rule from Backyard Edit’s furniture layout guide gives you a fast usability check: keep a 3-foot clear path around seating areas, leave 2 feet between major furniture pieces, and place a surface (side table, ottoman) within 18 inches of every seat. If your proposed layout fails any of those three tests, adjust before you build.
Pro Tip: Design the primary circulation spine first, before placing any furniture. If the main path from your back door to the yard bisects a chair pull-back zone, the entire layout will feel congested the moment guests arrive.
How to measure your yard and test a layout before you build
Sketching on paper is a starting point. Testing on site is what actually confirms a size works.
-
Measure the available space. Use a 25-ft or 50-ft tape measure. Record the distance from the house wall to any obstacles (garden beds, trees, fences, utility boxes). Note door swing arcs and step projections.
-
Calculate your target area. For rectangles: Area = Length × Width. For circles (a round fire pit pad): Area = 3.14 × radius². For irregular shapes, divide into rectangles, calculate each, and sum them.
-
Mark the corners. Drive stakes at each corner of your proposed patio. Run rope or chalk line along the perimeter.
-
Place stand-ins. Set out actual furniture, cardboard boxes, or lawn chairs to represent each zone. Walk the paths between them.
-
Live with it. Better Homes & Gardens recommends leaving the outline in place for several days. You will notice traffic bottlenecks, door conflicts, and sun exposure issues that no drawing reveals.
Check door swings, service routes from the kitchen, peak-sun exposure at your typical outdoor hours, and children’s play paths. All of these affect where zones land and how wide paths need to be.
How should your patio’s scale relate to your house and yard?
A patio that looks right on paper can feel overwhelming once it’s built, or it can disappear into a large yard. Proportion matters.
Angi’s patio sizing guide suggests keeping a patio at or under 20% of your home’s square footage as a balancing guideline, and aiming for 10–20% of your total backyard area for visual harmony. Treat these as starting points, not hard limits. A 1,500 sq ft home suggests a patio up to 300 sq ft; a 2,500 sq ft home can support up to 500 sq ft without looking disproportionate.
Door-depth recommendations help anchor the patio to the house:
-
Off a kitchen door: 8–10 ft of depth feels natural for a dining zone
-
Off a living room or great room door: 12–14 ft of depth creates a true outdoor living-room feel
Narrow vs. deep yards call for different layouts. A narrow yard benefits from a linear arrangement along the house wall, with zones stacked front to back rather than side by side. Built-in benches along the edges recover width without pushing the patio further into the yard. A deep yard with a wide house can support an L-shaped or multi-zone layout that creates distinct gathering areas.
Pro Tip: For a balanced patio layout, step back from the house and look at the proposed footprint from the yard. A patio that reads as a natural extension of the architecture tends to hold its value better than one that feels tacked on.
What does a patio cost per square foot by material?
Material choice directly shapes how large a patio you can afford to build at once. These are ballpark ranges for planning purposes; actual quotes vary by region, site conditions, and complexity.
-
Poured concrete: $6–$12 per sq ft — the most budget-friendly option for larger footprints
-
Stamped concrete: $10–$18 per sq ft — adds texture and pattern at moderate cost
-
Interlocking pavers: $10–$30 per sq ft — durable, repairable, and a strong choice for phased builds
-
Natural stone: $20–$50+ per sq ft — premium look with the highest material and labor cost
Budget reality check: A 300 sq ft patio in natural stone can run $6,000–$15,000+ in materials alone, before labor, base preparation, or drainage work. The same footprint in poured concrete runs $1,800–$3,600. That gap is why many homeowners build a core patio in pavers and expand later.
When higher material costs push you toward a smaller footprint, prioritize the primary use zone and leave a gravel or lawn buffer where a future expansion could connect. For patio installation costs and material options in NJ, getting a detailed quote before finalizing dimensions is the most reliable way to align size with budget.
When should you hire a contractor instead of doing it yourself?
Some patio projects are well within a capable homeowner’s reach. Others carry real risk if the groundwork is wrong.
Hire a professional when:
-
The site has grading or drainage issues (water pooling, slope toward the house).
-
The patio exceeds roughly 200 sq ft, where base compaction and leveling become critical.
-
You are adding built-in features: outdoor kitchens, fire features, gas lines, or electrical.
-
Local permitting is required (common for patios attached to the house or above a certain size).
-
The project involves retaining walls or significant grade changes.
Reasonable DIY territory: a simple ground-level paver patio under 150 sq ft on a flat, well-drained site. Read more about DIY vs. hiring a contractor for paver patios before committing either way.
Questions to ask any contractor before signing:
-
How will you handle drainage and base compaction on this specific site?
-
What is your warranty on materials and labor?
-
Which permits will you pull, and who is responsible for inspections?
-
Can you provide references from similar projects in the past 12 months?
-
Are you fully insured, and can I see your certificate of insurance?
Ask the low bidder to itemize every line before you accept.*
Do local building codes or HOA rules affect patio size?
Yes, and skipping this step can mean tearing out finished work.
Most U.S. municipalities require a permit for patios attached to the house or above a certain size threshold, which varies by jurisdiction. Setback rules typically require patios to sit a minimum distance from property lines, often 5–10 feet, though local ordinances differ. Impervious surface limits, which cap how much of a lot can be covered by non-permeable material, can restrict total patio area in municipalities with stormwater management requirements.
HOA rules add another layer. Many associations regulate patio materials, colors, and maximum coverage percentages. Some require design approval before any hardscape work begins.
Check with your local building department and your HOA before finalizing dimensions. A contractor familiar with Morris and Somerset County regulations can confirm what applies to your specific parcel.
How do you plan for future patio expansion?
Building in flexibility from the start costs very little and saves significant money later.
Lay the base slightly larger than your current patio footprint if budget allows. A properly compacted gravel base that extends 2–3 feet beyond the current edge makes a future expansion far easier and less expensive than excavating fresh ground. Choose a paver or stone pattern that can be extended without a visible seam, such as a running bond or herringbone that continues naturally.
Design utility rough-ins now. If you think you might add an outdoor kitchen or fire feature in the future, run a gas line stub-out and a conduit for electrical during the initial build. Retrofitting these later means breaking up finished hardscape.
Leave a clear connection point. A patio that terminates at a garden bed or a lawn edge with no defined transition makes expansion awkward. A simple step-down or a border course of contrasting stone marks the boundary cleanly and signals where the next phase begins.
How do landscaping elements affect patio size and feel?
The plants, beds, and structures around a patio shape how large or intimate it feels, sometimes more than the square footage itself.
Raised planters along the patio edge define the space without reducing usable area, provided they are built at the edge rather than inside the footprint. A planter 18–24 inches deep along one side creates a natural boundary and softens the hardscape-to-lawn transition. For ideas on integrating planting with hardscape in New Jersey yards, 2026 garden trends for NJ homes offer practical inspiration.
Overhead structures, pergolas, shade sails, and arbors, visually anchor the patio and make it feel like a room rather than a slab. Size the overhead structure to match the patio footprint; a pergola that covers only half the patio creates an awkward split rather than a cohesive space.
Trees and shrubs planted at the patio perimeter provide seasonal privacy and shade, but root systems need to be considered during base preparation. Keep large trees at least 10 feet from the patio edge to avoid root intrusion under the base over time.
Why function-first sizing produces better patios
Most homeowners who regret their patio size made the same mistake: they sized for appearance rather than use. They saw a beautiful 12×12 ft patio in a magazine and built it, then discovered it could not fit their actual dining table with chairs pulled out.
The dimension-first approach works because it starts with what the space must do, not what it should look like. In New Jersey yards, where winters limit outdoor use to roughly six months and lot sizes in Morris and Somerset Counties vary widely, that discipline matters even more. A patio sized for a family of four who dines outside three nights a week will serve that family better for decades than one sized to impress at a single glance.
The clearance numbers and proportion guidelines in this article are not arbitrary. They come from the practical experience of laying out hundreds of patios and watching which ones get used every season and which ones feel awkward the moment guests arrive. Start with function, test it on site, then let the material and aesthetic choices follow.
Fernandez & Sons brings your patio plan to life in Morris and Somerset Counties
Knowing the right dimensions is the first step. Getting the base, drainage, and materials right is what makes those dimensions last.
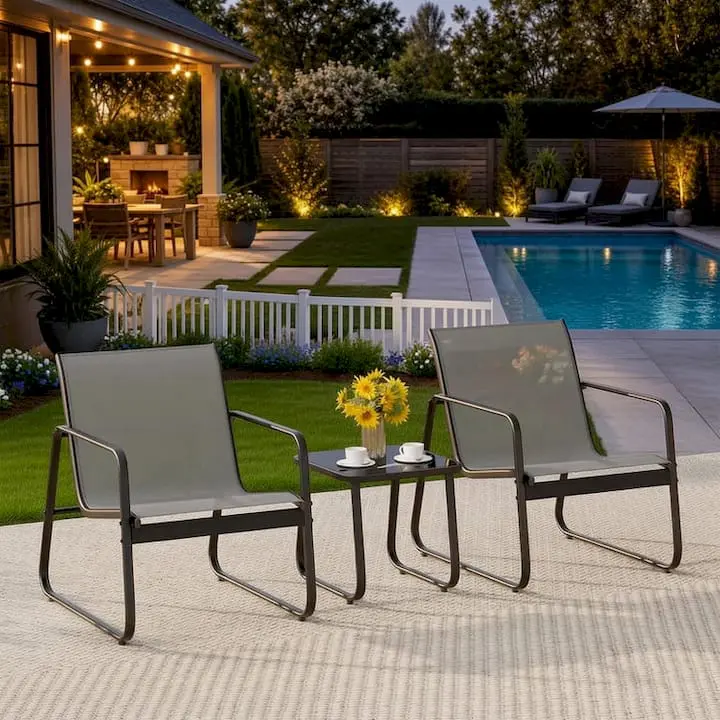
Fernandez & Sons designs and installs custom patios, outdoor kitchens, fire features, and multi-zone hardscape across Morris and Somerset Counties, NJ. Every project starts with a site visit where the team evaluates drainage, grade, access points, and permit requirements before a single dimension is finalized. That on-site assessment is what separates a patio that performs through New Jersey winters from one that shifts, cracks, or pools water by year two. Request a free estimate and get a clear, itemized proposal for your specific yard, size, and material goals.
Sources
-
Outdoor Furniture Layout: Ideas for Any Patio Size — Backyard Edit
-
How to Choose a Size for Your Patio — Better Homes & Gardens