
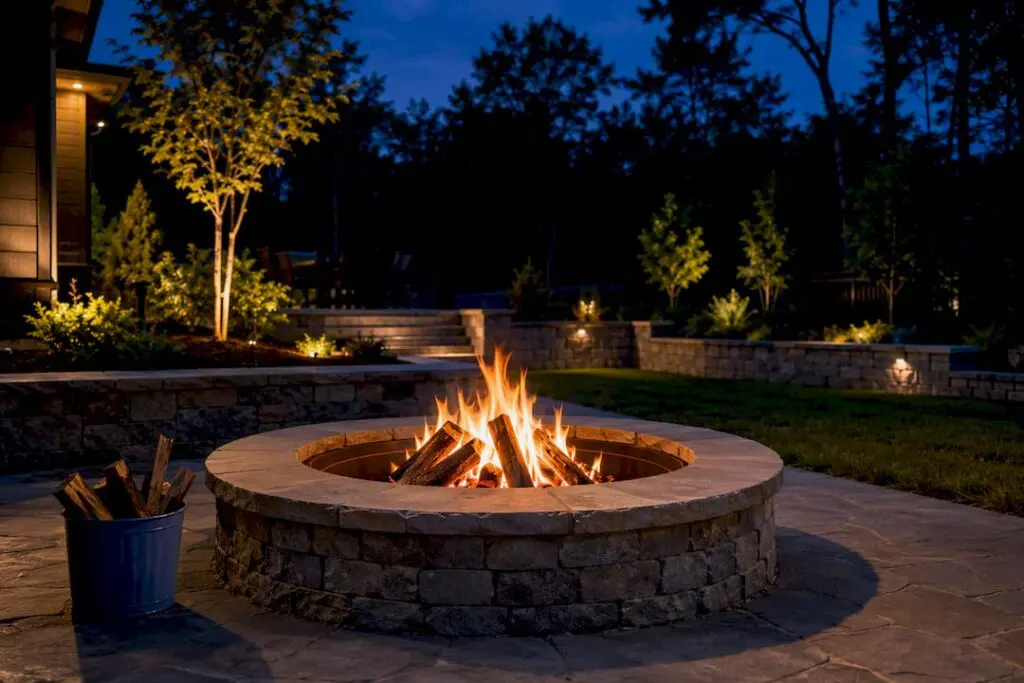
Yes, backyard fire pits are legal in New Jersey, but they come with real limits. State fire code caps most recreational fires at 3 feet in diameter and 2 feet high, requires clearance from nearby structures, and restricts what you can burn. Permanent, built-in fire pits generally need a construction permit under the Uniform Construction Code, and both the state and your town can shut down all outdoor fires during dry, high-risk conditions.
Most recreational fires must stay within 3 feet in diameter and 2 feet in height, with at least 15 to 25 feet clearance from structures.
Burning leaves, yard waste, or treated wood is illegal statewide and can result in fines up to $5,000 per day.
Built-in fire pits require a construction permit, and gas hookups must meet licensing and code standards, often needing specific inspections.
Fire danger conditions can impose temporary bans, especially during spring and late summer, making outdoor fires illegal regardless of previous compliance.
Using a UL listed portable fire pit with proper spark protection and following manufacturer clearance instructions ensures adherence to NJ safety standards.
Table of Contents
Fire Pit Regulations NJ Homeowners Need to Know
New Jersey governs backyard fires through two separate rulebooks, and homeowners often confuse them. The State Fire Prevention Code, found in N.J.A.C. 5:70, sets the safety standards for how a fire is built, sized, and attended. Separately, N.J.A.C. 7:27-2 governs what can legally be burned in the open air, regardless of the container.
The code draws a clear line between three types of fires. A recreational fire is a small, contained fire for warmth or cooking, typically in a pit, ring, or chiminea. A bonfire is larger, usually built for ceremonial or celebratory purposes, and it triggers stricter permitting. A portable outdoor fireplace is a manufactured, UL listed unit designed for patios and decks, and it often carries its own clearance rules straight from the manufacturer.
-
Recreational fires: generally capped around 3 ft diameter, 2 ft height
-
Local fire officials have authority to inspect, restrict, or order any fire extinguished
-
Open burning of refuse, leaves, or garbage is banned statewide
Under N.J.A.C. 7:27-2, burning refuse, leaves, garbage, or treated wood is prohibited across the entire state, and violations can bring penalties up to $5,000 per day. That single rule surprises a lot of people who assume a backyard fire pit gives them a free pass to burn yard debris.
Placement, Size, and Clearance Requirements You Must Follow
Where you put the fire pit matters as much as what’s burning in it. Code guidance commonly used across New Jersey sets clearance at 15 feet from structures for an approved, contained device, and 25 feet for an open recreational fire with no container. Measure that distance to the nearest combustible surface, including overhangs, fences, and low tree branches, not just the wall of your house.
-
Keep the pit on a non-combustible surface: gravel, stone, or concrete work well
-
Measure clearance to overhead branches and eaves, not just ground-level walls
-
Wood decks often need a fire-rated mat or may be off-limits entirely, depending on the material
-
Manufacturer instructions can require greater clearance than the state minimum, and those instructions govern
Pro Tip: Before you buy a fire pit, measure your patio or yard against the 25-foot rule first. A lot of homeowners fall in love with a fire pit online, only to discover their patio is too close to the house to use it legally.
What You May (and May Not) Burn in a Fire Pit
Seasoned, dry firewood, natural gas, propane, and charcoal are the fuels New Jersey fire officials generally accept in a compliant fire pit. Everything else is where homeowners get into trouble.
-
Never burn leaves, household trash, or yard waste
-
Never burn painted, stained, or pressure-treated lumber
-
Avoid plastics, cardboard, and any material that releases heavy smoke or fumes
These restrictions aren’t arbitrary. Burning treated wood or trash releases particulates and chemical residue that create real health and nuisance problems for neighbors, which is part of why enforcement takes it seriously. Open burning penalties in New Jersey can reach $5,000 per day of violation. Gas and propane pits sidestep most smoke complaints entirely, but a permanent gas hookup brings its own paperwork. That work requires a licensed professional and needs to meet the National Fuel Gas Code, which typically pulls in a mechanical or plumbing permit on top of any construction permit.
Permits, Fees, and When to Call Your Local Fire Official
Most portable, code-compliant fire pits don’t need a permit at all. The moment you pour a masonry base or build something permanent into your patio, that changes.
-
Bonfires and event-scale fires typically require a permit from your local fire official, separate from any construction permit.
-
Fires in or near wooded areas or state land need a permit issued directly through the NJ Forest Fire Service, which offers event, regular, and seasonal permit categories.
Apply early. Municipal fire offices and the Forest Fire Service both recommend requesting permits well ahead of your planned date, since approval and inspection scheduling can take longer than expected around busy seasons.
Temporary Bans and How to Check Current Fire Danger
Even a fully compliant fire pit can become illegal to use overnight. New Jersey’s fire danger rating moves through stages that restrict outdoor burning as conditions get drier.
-
Lower stages may only restrict ground fires in wooded or park areas
-
Mid stages often limit fires to contained, elevated devices only
-
Peak stages can prohibit all open flame, allowing only gas or electric appliances
The NJDEP Forest Fire Service maintains a conditions and restrictions dashboard that updates in real time, and it’s the fastest way to know whether tonight’s fire pit plan is actually legal. Bookmark it, and if you’re planning a gathering, call your local fire official to confirm before you invite anyone over.
Safety Checklist and What Happens If You Break the Rules
State fire code doesn’t just regulate the pit itself. It regulates how you run it.
-
A fire must be constantly attended by an adult until it’s fully out
-
Keep a minimum 4-A rated extinguisher, garden hose, water barrel, or dirt within immediate reach
-
Never leave a lit pit unattended, even for a few minutes
That equipment requirement isn’t a suggestion. Section 307 of the code requires approved extinguishing equipment to be immediately available at every recreational fire, portable fireplace, and bonfire. Local fire officials can order a fire extinguished on the spot, and if you’re burning prohibited materials or ignoring a restriction, fines can run up to $5,000 per day, plus the cost of any suppression response. That’s a steep price for a bag of leaves you could have bagged for curbside pickup instead.
Practical Steps Before You Light or Install a Fire Pit
-
Call your municipal fire prevention bureau to confirm local rules, since towns frequently layer stricter requirements on top of state minimums.
-
Check the NJDEP Forest Fire Service dashboard for current restrictions before lighting anything.
-
Confirm whether a construction or gas permit applies if you’re installing anything permanent.
-
Set the pit on a non-combustible base and follow the manufacturer’s clearance instructions to the letter.
When Can You Actually Use a Fire Pit in NJ?
New Jersey doesn’t set a statewide calendar that bans fire pits in summer or opens them only in fall. Recreational fires are allowed year round under the state fire code, as long as you’re within size, clearance, and fuel rules. What actually shifts by season is risk, and risk is what triggers restrictions.
Spring, particularly March through May, is New Jersey’s highest wildfire risk window. Dead leaf litter from the previous fall hasn’t yet given way to green growth, humidity often drops, and wind picks up. Late summer dry spells create a second risk window, especially in wooded or rural parts of Morris and Somerset Counties. That’s precisely when the Forest Fire Service is most likely to post staged restrictions, sometimes with little notice.
Time of day matters more than most homeowners realize, too. Many municipalities set quiet hours or fire curfews, commonly somewhere around 10 or 11 p.m., after which any open flame outdoors becomes a code violation regardless of size. Wind is another practical cutoff: fire officials generally advise against lighting any outdoor fire on a day with sustained wind, since embers can travel well past your property line even inside a properly sized pit.
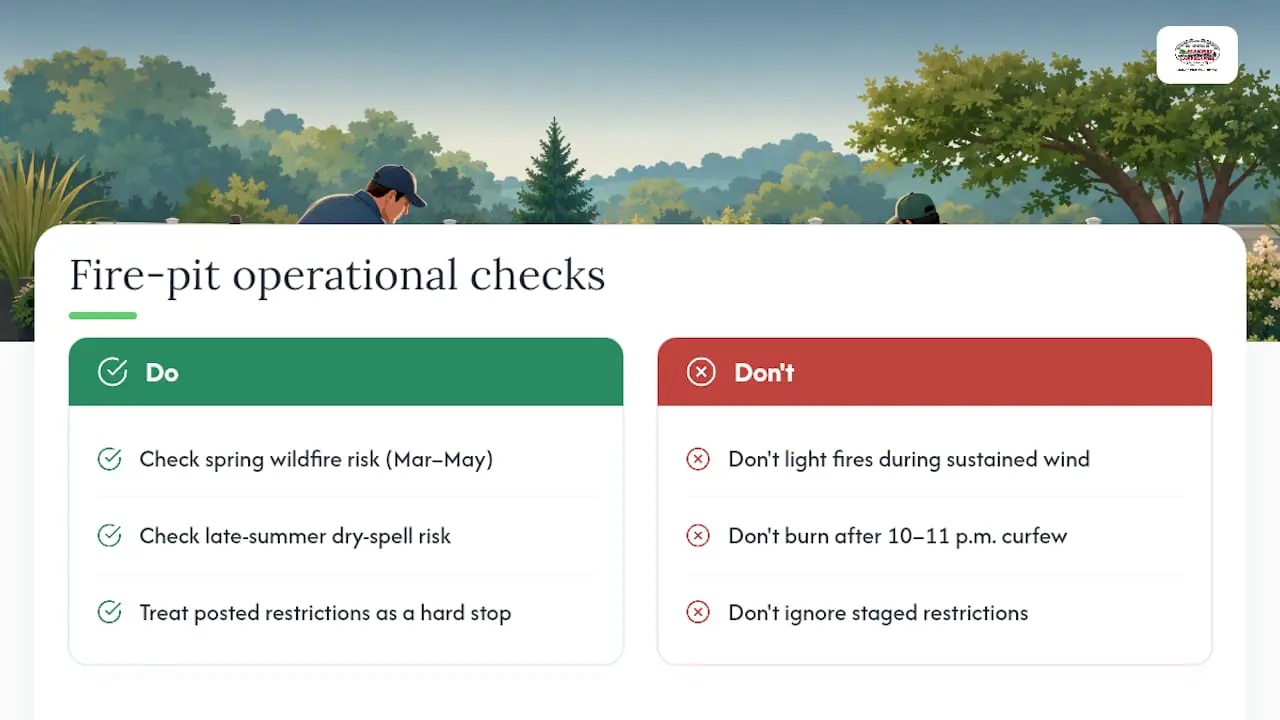
The safest approach isn’t memorizing a calendar. It’s checking current conditions every time, especially during spring and late summer, and treating any posted restriction as a hard stop rather than a suggestion you can work around.
Approved Fire Pits and Equipment That Meet NJ Standards
Not every fire pit sold online meets New Jersey’s code. The safest category is a UL listed portable outdoor fireplace, manufactured with a spark screen, a stable base, and published clearance specifications you can hand to a fire official if asked.
Look for these features when shopping or evaluating a pit already in your yard:
-
Spark screen or mesh cover that contains embers, often required or strongly recommended by municipal codes
-
Elevated design that keeps the fire off grass or wood decking directly
-
Stable, non-tipping base rated for the fuel type you intend to use
-
Manufacturer clearance labeling, since many units specify distances greater than the state’s 15-foot minimum
Wood-burning pits with an open top face the strictest scrutiny because embers escape more easily. Gas and propane models, by contrast, tend to satisfy local fire officials faster since they eliminate the ember and smoke problem almost entirely, though a permanent gas line still means bringing in a licensed fitter. Masonry, built-in fire pits sit in their own category entirely. Because they’re permanent structures, they fall under the Uniform Construction Code, and the base, wall material, and spark arrestor design all get reviewed at the permit stage rather than left to a manufacturer’s label.
Smoke, Neighbors, and Nuisance Complaints Under NJ Law
Even a perfectly legal fire pit can turn into a neighbor dispute, and New Jersey law gives towns real tools to act on it. Smoke drifting repeatedly into a neighbor’s yard, windows, or laundry line can qualify as a public nuisance, separate from whether you’re violating fire code on size or fuel.
Local health and code enforcement officers can respond to smoke complaints the same way they’d respond to noise or odor complaints from any other backyard activity. If a pattern of complaints builds, a municipality can restrict your fire pit’s operating hours or, in persistent cases, revoke permission for a permanent installation. Some towns address this preemptively by requiring elevated fireboxes or mesh covers specifically to cut down on drifting embers and heavy smoke, on top of whatever the state code already demands.
The practical fix is usually simple. Burn only clean, seasoned wood, since wet or green wood produces far more smoke than dry firewood. Position the pit with prevailing wind direction in mind, so smoke carries away from adjoining yards rather than straight into them. And if a neighbor raises a concern, treat it as an early warning rather than an annoyance. A five minute conversation about wind direction costs a lot less than a formal complaint filed with your township.
A Contractor’s View on Compliant Fire Pit Builds
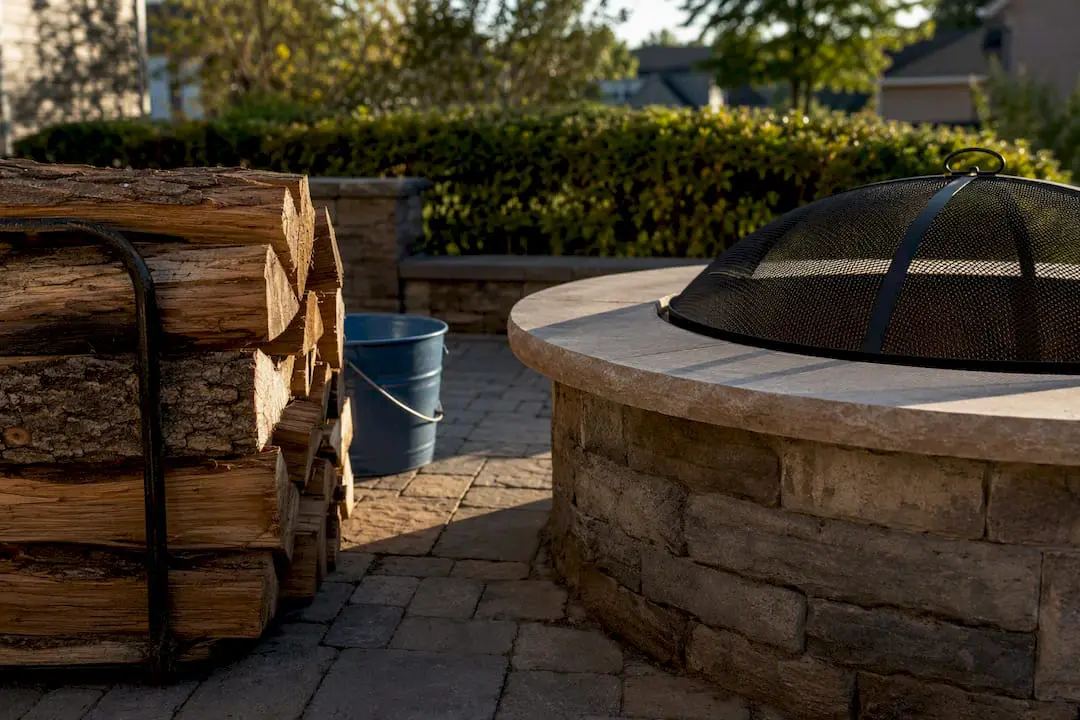
Fernandez & Sons treats any masonry or built-in fire pit as a permanent structure from day one, which means pulling the right permits before the first stone gets set. That starts with verifying setbacks on a site plan, confirming the base material meets non-combustible standards, and coordinating gas hookups with licensed trades when a client wants a gas line instead of wood. Handling the inspection and permit process up front is what keeps a beautiful fire pit from becoming a compliance headache later, especially with insurance carriers who ask questions about permanent outdoor structures.
— BG
Get a Compliant Fire Pit Built Right the First Time
DIY fire pit kits and prefab units work fine for some yards, but they leave every setback calculation, permit question, and municipal call in your hands. Fernandez & Sons handles that differently: as a licensed masonry and hardscaping contractor serving Morris and Somerset Counties, the team manages permit coordination, site prep, and gas hookup scheduling with licensed trades so your fire pit passes inspection instead of triggering a violation.

Every project starts with a free estimate and comes backed by a satisfaction guarantee, so you know the cost and the scope before anything gets built. Browse completed fire pit installations for design ideas, or dig into full masonry services for patios, retaining walls, and outdoor kitchens built around your new fire feature. If you’re weighing a DIY paver base against a professionally built one, this paver patio fire pit guide walks through the surface-prep basics either way. When you’re ready to confirm your yard’s setbacks and permit needs, request a site visit and get a plan built around your actual property, not a generic template.
Supporting Information
-
N.J.A.C. 7:27-2 – Control and Prohibition of Open Burning (via LII)
-
Recreational – State Parks, Forests & Historic Sites (NJDEP Forest Fire Service)
-
Section 307 Open Burning, Recreational Fires and Portable Outdoor Fireplaces — UpCodes
FAQ
Can I have a fire pit in my backyard in NJ?
Yes. Portable, code-compliant fire pits are legal statewide as long as you follow size, clearance, and fuel rules, and permanent built-in pits are legal once they pass the construction permit process.
Do I need a permit for a fire pit in NJ?
Most portable fire pits used for recreational fires don’t require a permit, but a permanent masonry or built-in fire pit generally needs a construction permit under the Uniform Construction Code.
Do you need a permit for a bonfire in NJ?
Yes, bonfires are larger than standard recreational fires and typically require a permit from your local fire official or, for wooded or state land locations, from the NJ Forest Fire Service.
Can I make a small fire pit in my backyard without inspection?
A small, portable recreational fire pit that meets the roughly 3-foot diameter and 2-foot height guidance generally doesn’t trigger an inspection, but any permanent installation will.
What happens if I violate NJ fire pit or open burning rules?
Local fire officials can order the fire extinguished immediately, and violations of the open burning rules under N.J.A.C. 7:27-2 can carry fines up to $5,000 per day.